

A leaking shed roof can quickly damage tools, garden furniture, electrical equipment and the timber structure itself. Fortunately, many small leaks come from simple defects such as lifted felt, a puncture, an open overlap or a loose roof fixing.
In some cases, a basic DIY repair can stop the water and extend the roof’s life. However, the repair needs to match the roof material and the condition of the timber underneath.
A small patch may work well on otherwise sound felt. In contrast, repeated leaks, rotten boarding or widespread cracking usually point towards full roof replacement.
This guide explains how to find the source of a shed roof leak, which simple repairs may work and when it is better to call a professional.
First, work out where the water is entering
The wet patch inside the shed may not sit directly below the roof defect.
Water can travel along:
- roof boards
- rafters
- felt overlaps
- fixings
- wall plates
- internal battens
Therefore, start by inspecting both the inside and outside of the shed.
Check inside the shed
Look for:
- damp roof boards
- dark timber staining
- dripping from nails or screws
- wet rafters
- mould
- swollen OSB or plywood
- daylight through gaps
- water marks near the ridge
- damp at the roof edges
Check the outside from a safe position
Look for:
- split roofing felt
- lifted edges
- open overlaps
- missing felt nails
- punctures
- loose ridge felt
- cracked corrugated sheets
- damaged screw washers
- branches rubbing the roof
- standing water
- overflowing gutters
Avoid climbing onto the roof. Most garden sheds cannot safely support a person’s weight.
Quick guide to common shed roof leaks
| Leak source | Simple DIY fix | When replacement may be better |
|---|---|---|
| Small felt puncture | Patch or repair tape | Several punctures or brittle felt |
| Short split | Felt patch and adhesive | Split continues growing |
| Lifted felt edge | Rebond and secure edge | Timber edge has rotted |
| Open overlap | Clean and reseal with felt adhesive | Many overlaps have opened |
| Loose felt nails | Replace or reposition fixings | Felt has torn around nails |
| Damaged ridge felt | Add a ridge patch | Ridge is widely cracked |
| Loose metal roof screw | Replace screw and washer | Several fixings or sheets have failed |
| Cracked bitumen sheet | Compatible sheet patch | Large crack or sagging sheet |
| Blocked gutter | Clear debris | Gutter position or fall is wrong |
| Rotten roof board | Replace damaged board | Widespread deck decay |
Fix 1: patch a small hole in shed felt
A small puncture may come from:
- a fallen branch
- an exposed nail
- a screw
- a ladder
- a sharp tool
- an animal
Where the surrounding felt remains flexible and well bonded, a simple patch may stop the leak.
You may need:
- roofing felt patch
- compatible felt adhesive
- roof repair compound
- stiff brush
- filling knife
- utility knife
- gloves
Basic method
- Clean dirt and loose material from the area.
- Allow the surface to dry where the adhesive requires dry conditions.
- Cut a patch larger than the hole.
- Round the corners of the patch.
- Apply compatible felt adhesive or repair compound.
- Press the patch firmly into place.
- Seal the edges where the product instructions require it.
- Keep the patch dry while it cures.
The patch should extend onto sound felt on every side.
Fix 2: use self-adhesive roof repair tape
Self-adhesive repair tape can work well on:
- small straight splits
- punctures
- short open seams
- cracked edges
- minor flashing defects
Advantages
- simple to cut
- no open flame
- little mess
- quick emergency repair
- suitable for small local damage
Important preparation
Repair tape will not stick properly to:
- loose moss
- wet dirt
- dust
- flaking mineral granules
- oily surfaces
- badly degraded felt
Therefore, clean and dry the area carefully. Some rough felt surfaces may also need primer.
Press the tape firmly and roll out trapped air.
Fix 3: reseal an open felt overlap
Shed felt normally relies on overlapping strips. Over time, wind and heat can lift the top edge.
A short open overlap may allow water to travel beneath the felt.
Basic repair
- Carefully lift the loose edge.
- Remove dirt and debris underneath.
- Allow the area to dry.
- Apply roofing felt adhesive.
- Press the overlap down firmly.
- Add suitable fixings where required.
- Apply a reinforcing strip if the seam remains weak.
Do not simply squeeze ordinary silicone into the gap. It may not bond well to bitumen and can make a future repair harder.
Fix 4: secure a lifted felt edge
Wind often starts lifting felt at the eaves or verge.
If the timber edge remains sound, you may be able to rebond and secure the felt.
Check first
Inspect the fascia or roof-edge timber for:
- softness
- rot
- splitting
- loose boards
- failed nails
If the timber has decayed, adhesive alone will not hold the felt for long.
Possible repair
- clean beneath the felt
- apply compatible contact adhesive
- press the felt back down
- use suitable felt nails or edge trims
- seal the corner if required
- add a timber batten where the roof design permits it
Avoid over-fixing the edge because too many nails can tear the felt.
Fix 5: repair a split near the shed roof ridge
On an apex shed, ridge felt covers the meeting point between the two roof slopes.
Common problems include:
- cracking
- short overlaps
- loose edges
- exposed nails
- wind damage
A ridge leak often runs down a rafter before appearing inside.
Simple patch method
- Clean the damaged area.
- Cut a wide felt strip that covers the complete ridge defect.
- Allow enough overlap on both slopes.
- Bond it with compatible adhesive.
- Secure it according to the felt manufacturer’s instructions.
- Seal vulnerable edges.
Where the whole ridge has become brittle, replace the ridge strip rather than adding several small patches.
Fix 6: replace loose or missing felt nails
Felt nails may loosen because of timber movement or wind.
A missing nail can allow the felt to lift. However, driving a new nail through torn material may make the problem worse.
Better approach
- remove badly positioned loose nails
- place the new fixing into sound felt
- use a wide-headed galvanised felt nail
- avoid fixing too close to an existing tear
- add a small repair patch where the hole has enlarged
Do not rely on ordinary narrow nails because their heads may pull through the felt.
Fix 7: apply a fibre-reinforced roof repair compound
A fibre-reinforced bitumen compound can work on:
- small cracks
- irregular gaps
- nail holes
- awkward corners
- emergency leaks
Apply it with a brush or filling knife according to the product instructions.
It works best when:
- the defect is small
- the surrounding felt remains sound
- the deck is firm
- the surface is clean
- the compound is compatible with the existing roof
It will not fix:
- rotten boarding
- large open seams
- widespread cracking
- a sagging roof
- deep standing water
- wet insulation
- structural movement
Avoid building up very thick layers because they may crack later.
Fix 8: cover the shed temporarily with a tarpaulin
A secure tarpaulin can provide emergency protection until you complete a proper repair.
This may help where:
- heavy rain is forecast
- the felt has torn widely
- the roof deck needs replacing
- you cannot obtain materials immediately
How to use a temporary cover
- choose a sheet large enough to cover the full damaged area
- extend it beyond the ridge where possible
- secure it to the shed structure rather than loose roof felt
- keep the cover tight enough to avoid water pooling
- prevent sharp corners from puncturing it
- check it after strong wind
Do not weigh a tarpaulin down with loose bricks or heavy objects on the roof. They may fall or overload the structure.
A tarpaulin is a temporary measure, not a permanent roof.
Fix 9: repair a leaking corrugated bitumen shed roof
Corrugated bitumen sheets can leak around:
- fixings
- overlaps
- ridge pieces
- cracks
- unsupported sections
Loose fixing
Replace a loose or damaged fixing with the correct roofing screw or nail and sealing washer.
Do not overtighten it. Excessive pressure can crush the sheet and create a depression where water collects.
Small crack
A compatible bitumen repair tape or patch may provide a local repair.
The patch should follow the corrugated profile and extend beyond the crack.
Open overlap
Check whether the sheets have enough overlap and whether the correct fixings hold them.
A poorly supported or badly positioned sheet may need refitting rather than sealing.
Fix 10: replace a damaged metal roof fixing
Metal shed roofs often leak around screws where washers have:
- split
- hardened
- moved
- loosened
- corroded
A replacement roofing screw with the correct sealing washer may solve a local leak.
Basic approach
- Remove the failed screw carefully.
- Check the metal around the hole.
- Use the correct replacement fixing.
- Tighten it enough to compress the washer.
- Avoid overtightening and distorting the sheet.
If the hole has enlarged, the roof may need an oversized repair fixing or a properly sealed patch.
Fix 11: clear blocked gutters and roof edges
Sometimes the roof covering is not the main problem.
Blocked gutters can cause water to:
- overflow behind fascia boards
- soak the shed walls
- back up beneath roof edges
- splash through gaps
- saturate the base
Remove leaves, moss and silt where you can do so safely.
Also check:
- gutter outlets
- downpipes
- gutter joints
- brackets
- end caps
- roof drip edges
A shed may appear to have a roof leak when an overflowing gutter is actually soaking the wall.
Fix 12: seal a wall junction
A shed built against a wall may leak where the roof meets the brickwork or fence structure.
A lasting repair may need:
- suitable flashing
- a cover strip
- compatible sealant
- an upstand
- a properly formed roof membrane detail
Simply smearing sealant along the junction often provides only short-term relief.
Where the roof joins a house, garage or masonry wall, a roofer may provide a more dependable flashing detail.
What not to use on a leaking shed roof
Avoid random products that are not designed for roofing.
These may include:
- bathroom silicone
- expanding foam
- duct tape
- interior filler
- ordinary emulsion paint
- general-purpose glue
- plastic bags
- loose plastic sheeting
- cement mortar over felt
Such products may fail quickly, trap water or make later repairs more difficult.
Can roof sealant stop a shed leak?
A compatible roofing sealant can help with:
- small gaps
- fixing holes
- trim joints
- minor cracks
However, sealant should not replace a proper patch where the felt has split across a wider area.
Always check whether the product suits:
- bitumen felt
- EPDM
- metal
- corrugated bitumen
- timber
- damp application
Not every roof sealant bonds to every material.
Can roof paint stop a shed roof leaking?
Roof paint or liquid coating may help where:
- the felt remains firmly bonded
- cracks are very small
- the timber deck is dry
- seams remain secure
- the coating suits the roof material
It will not fix:
- loose felt
- rotten boards
- deep gaps
- widespread tears
- structural sagging
- open ridge joints
Complete repairs first. Afterwards, consider a compatible coating only where the manufacturer approves it.
How to repair rotten shed roof boards
Rotten roof boards require more than a surface patch.
Signs include:
- soft timber
- swollen OSB
- crumbling chipboard
- black fungal staining
- sagging
- screws no longer holding
- water dripping through several areas
Local board repair
A small isolated damaged area may allow:
- removal of the roof covering around the defect
- cutting back to sound timber
- adding support below the board edges
- fitting matching replacement board
- reinstalling a compatible roof covering
However, widespread decay usually calls for complete deck replacement.
Do not seal over rotten timber. The new patch may soon lose support and fail.
Temporary repair or permanent repair?
| Type of repair | Likely role |
| Tarpaulin cover | Emergency protection |
| Roof repair compound | Temporary or local repair |
| Self-adhesive tape | Emergency or small permanent repair |
| Felt patch and adhesive | Local longer-term repair |
| Resealed overlap | Longer-term if surrounding felt remains sound |
| New ridge strip | Longer-term repair |
| Replacement board and felt | Permanent local repair |
| Complete refelting | Full renewal |
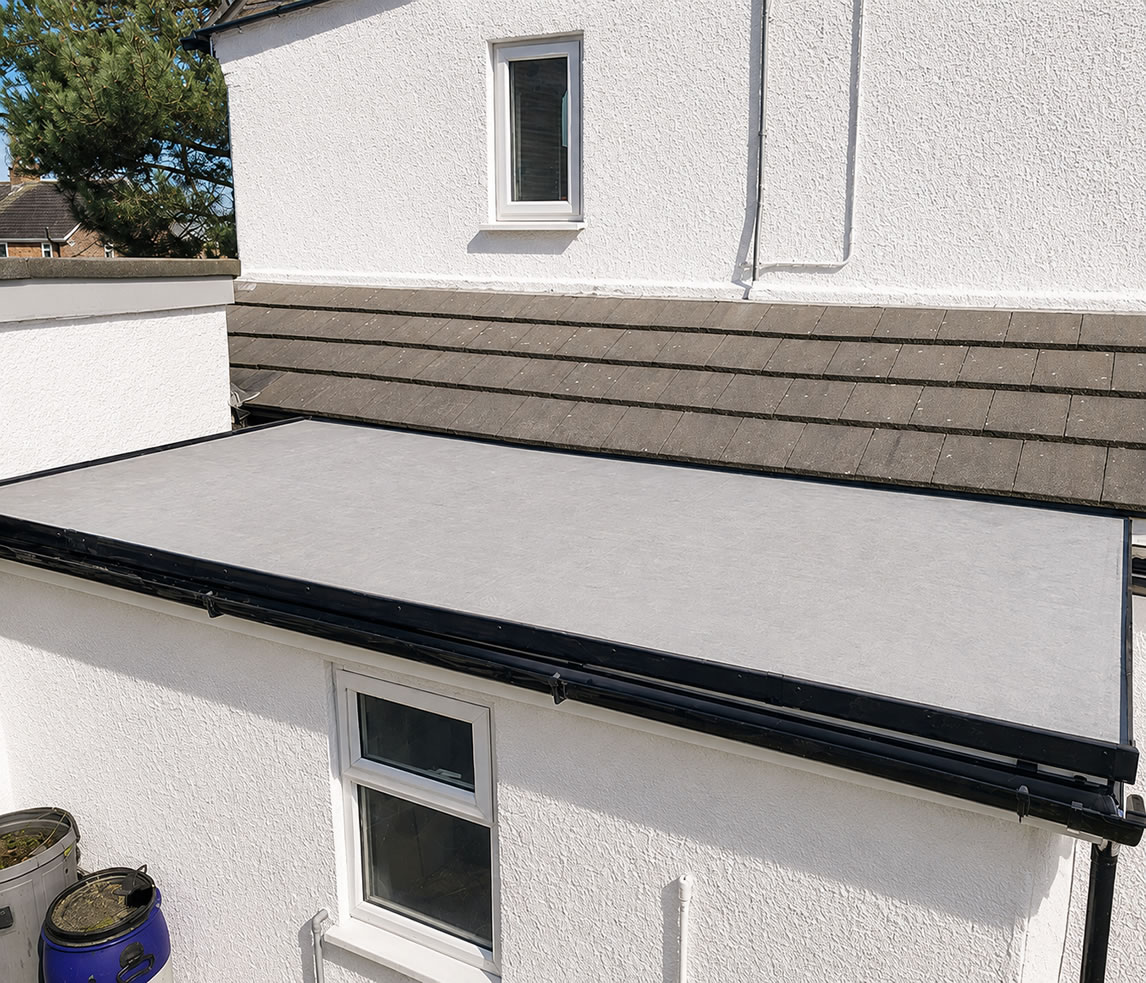
| EPDM conversion | Long-term roof upgrade |
A repair only provides good value when the surrounding roof still has useful life left.
Signs the shed roof needs full replacement
Consider replacing the complete roof covering where:
- felt has cracked across several areas
- multiple overlaps have lifted
- patches keep failing
- the felt tears easily
- water leaks in several places
- the roof deck has widespread rot
- the roof sags
- corrugated sheets have split
- fixings repeatedly pull through
- the covering has reached the end of its lifespan
Repeatedly buying repair products can eventually cost more than a planned replacement.
Typical DIY shed roof repair costs
| DIY repair | Broad material cost |
| Small roof sealant | £5–£15 |
| Bitumen repair compound | £10–£35 |
| Self-adhesive repair tape | £10–£50 |
| Felt patch and adhesive | £20–£80 |
| New ridge felt | £20–£70 |
| Replacement roof board | £20–£50 per board |
| Temporary tarpaulin | £15–£60 |
| Replacement corrugated sheet | £15–£50 |
| Roofing screws and washers | £10–£30 |
| Complete shed felt kit | £40–£200+ |
| Small EPDM roof kit | £80–£300+ |
Prices depend on shed size, product quality and whether you need tools or timber.
Professional shed roof repair costs
| Professional work | Broad UK budgeting range |
| Small local patch | £150–£350 |
| Felt edge or seam repair | £200–£500 |
| Ridge repair | £250–£600 |
| Local board and felt repair | £300–£800 |
| Small shed refelting | £300–£700 |
| Typical shed roof replacement | £500–£1,200 |
| EPDM replacement with new deck | £700–£1,500+ |
| Large workshop roof | £1,000–£3,000+ |
Contractors or all pros may charge a minimum call-out fee even for a small shed.
DIY shed roof safety
Most sheds have lightweight roofs that are not designed to support a person.
Therefore:
- do not walk on the roof
- do not lean a ladder against a weak gutter
- avoid working in rain or frost
- keep electrical tools dry
- use stable ground
- ask someone to supervise
- avoid working in strong wind
- do not place heavy materials on the roof
Where possible, carry out work from:
- a suitable access tower
- a stable platform
- a correctly positioned ladder
- ground-level extension tools
Stop if the shed structure moves or feels unstable.
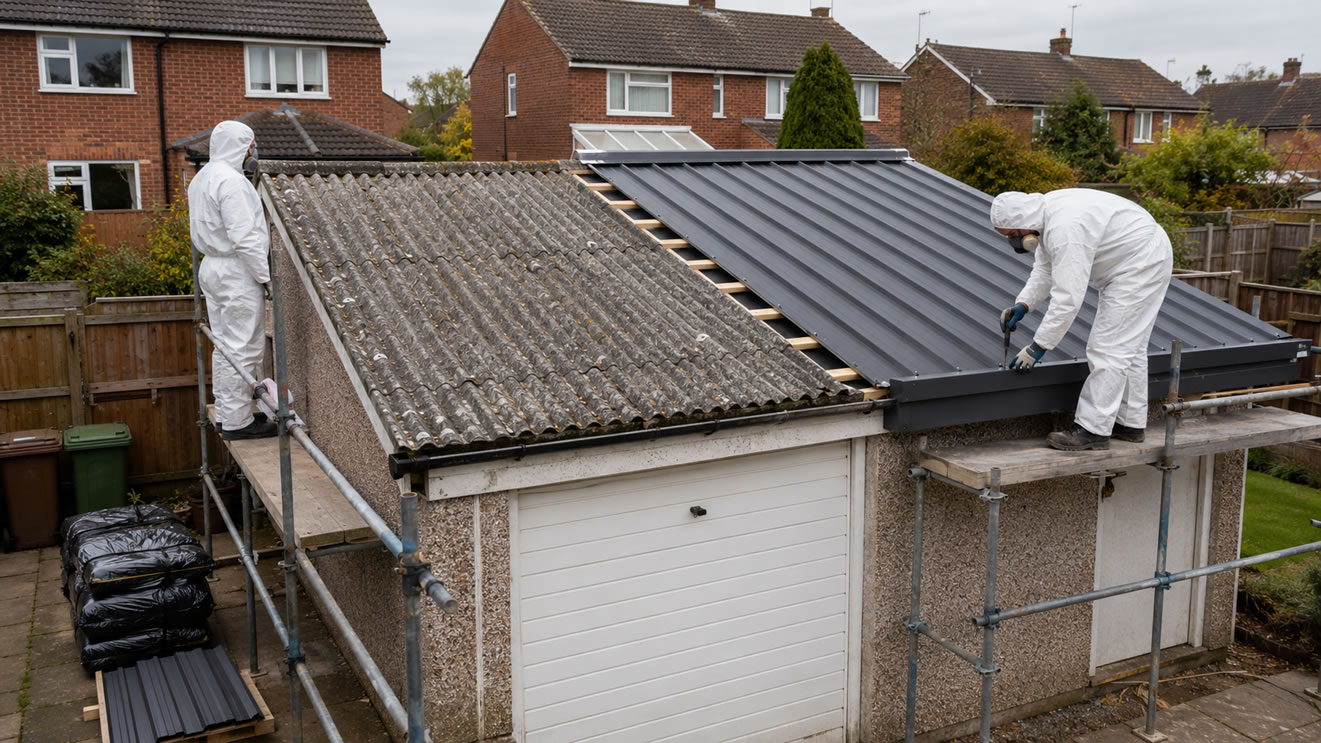
Check for asbestos before disturbing old corrugated roofing
Some older shed roofs use asbestos cement sheets.
Do not:
- drill them
- saw them
- pressure wash them
- sand them
- break them
- scrape them aggressively
If you suspect asbestos, stop work and arrange proper identification.
A simple-looking repair can create a health risk if it disturbs asbestos-containing material.
How to prevent future shed roof leaks
Inspect the roof twice a year
Check it during spring and autumn.
Remove leaves and branches
Debris holds water and can damage the covering.
Keep gutters clear
Good drainage protects both the roof edge and shed walls.
Trim suitable overhanging branches
Branches can puncture felt and rubber membranes.
Repair lifted edges early
Wind can turn a small loose edge into a large tear.
Maintain timber
Paint or treat fascia boards and exposed wooden trims.
Improve roof fall
Water should drain rather than remain in low areas.
Ventilate the shed
Ventilation helps reduce condensation, which can look like a roof leak.
Is the water definitely coming through the roof?
Not always.
Moisture inside a shed may also come from:
- condensation
- rising damp through the floor
- rain entering around doors
- leaking windows
- overflowing gutters
- ground water
- wall panel gaps
- damp items stored inside
Signs of condensation
- droplets across a broad roof area
- moisture mainly during cold weather
- no single entry point
- damp metal tools
- wet underside of a metal roof
Improving ventilation may solve condensation more effectively than adding roof sealant.
Comparing shed roof repair quotes
| Quote item | Contractor A | Contractor B | Contractor C |
| Leak source identified | |||
| Roof covering assessed | |||
| Deck checked | |||
| Local repair or replacement | |||
| Proposed material | |||
| Timber repair included | |||
| Ridge and edges included | |||
| Gutters checked | |||
| Old material removed | |||
| Waste disposal | |||
| Guarantee | |||
| VAT included | |||
| Total price |
Questions to ask a shed roofer
- Where is the water entering?
- Is the roof deck sound?
- Can the roof be repaired?
- How long should the repair last?
- Would full replacement offer better value?
- Which repair material will you use?
- Is it compatible with the existing roof?
- Will you repair rotten timber?
- Are the ridge and roof edges included?
- Will you clear the gutter?
- Does the quote include waste removal?
- What guarantee applies?
- Is VAT included?
Request shed roof repair quotes
When requesting quotes, provide:
- shed dimensions
- roof shape
- current roof covering
- age of the roof
- visible damage
- number of leak points
- condition of the roof boards
- gutter problems
- garden access
- safe photographs
Find Me Quotes can help homeowners compare quotations from local shed-roofing specialists for repairs, refelting, timber work and complete roof replacement.
Frequently asked questions about DIY shed roof leak repairs
What is the quickest way to stop a shed roof leaking?
A secure tarpaulin or compatible roof repair tape can provide quick temporary protection. A proper patch or seam repair should follow once the weather allows.
Can I patch leaking shed felt?
Yes. A small split or puncture can often be repaired with a compatible felt patch, adhesive or reinforced repair tape, provided the surrounding felt and roof deck remain sound.
Can I use silicone on a shed roof?
Ordinary household silicone may not bond reliably to roofing felt, EPDM or bitumen sheets. Use a roof sealant approved for the specific material.
Why does my shed roof still leak after patching?
The water may enter at a different location and travel along the roof boards. Alternatively, the patch may sit on wet, dirty or badly degraded material.
Can I put new felt over old felt?
It is possible in some cases, but removing the old covering allows you to inspect the deck and avoids trapping moisture. Full removal usually provides a better result.
How do I know whether the roof boards are rotten?
Rotten boards may feel soft, swollen or crumbly. They may sag, show dark staining or fail to hold screws and nails.
Is a leaking shed roof worth repairing?
Repair often makes sense where the shed frame, walls, floor and base remain sound. Replacement may offer better value where the entire building has widespread rot.
When should I replace the whole shed roof?
Full replacement is usually better where felt has widespread cracks, several seams have opened, the roof leaks in multiple locations or the deck has extensive decay.